Leave A Message

If you are interested in our products and want to know more details,please leave a message here,we will reply you as soon as we can.

submit
banner

Lithium Battery

Home

Lithium Battery

  • Step-by-Step Guide: Wiring Solar Panels, Inverter, Lithium Battery, and Roof Mount Safely
    Step-by-Step Guide: Wiring Solar Panels, Inverter, Lithium Battery, and Roof Mount Safely
    May 24, 2026
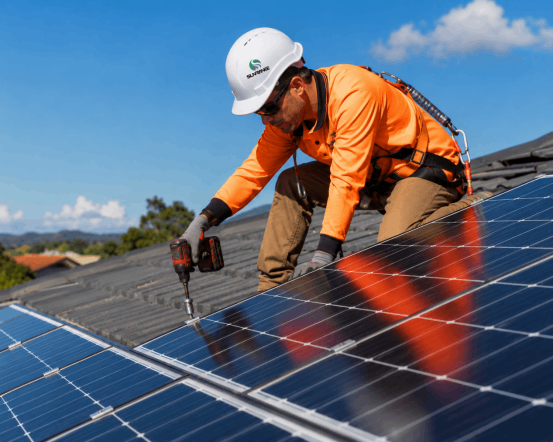
    Installing a solar system involves four core components: solar panels, inverter, lithium battery, and roof mount. When wired correctly, they work as a safe, efficient power source. Follow this step-by-step guide, and always refer to our provided resources.   1. Plan Your Layout Using the Roof Mount Drawing   Before touching any wire, review the roof mount layout drawing (provided below). It shows exactly where each panel sits on your roof.   Mark rail positions and panel spacing   Confirm shading-free zones for maximum output     2. Mount Solar Panels and Run DC Cables   Secure the roof mount rails according to the layout drawing. Then attach solar panels to the rails. After mounting:   Connect panels in series or parallel (we can provide free solar system layout diagram)   Run positive and negative DC cables from the array to the inverter location   Use UV-resistant cables and MC4 connectors for all outdoor wiring     3. Wire the Inverter with Help from the Inverter Manual   The inverter manual  is your safety reference.   Connect DC input from solar panels to the inverter’s PV terminals   Connect battery terminals to the inverter’s battery port   Connect AC output to your home distribution box   Never swap DC+ and DC–. The inverter manual includes a warning label diagram – read it carefully.     4. Connect the Lithium Battery Using Battery Manual   Lithium batteries require specific voltage and communication wiring. The battery manual (provided below) lists:   Recommended charge/discharge current limits   CAN or RS485 communication pinout   Follow the manual exactly. Improper lithium connections can trigger BMS shutdown or void warranty.     5. Final Checks and System Start-Up   Before turning on the system:   All cables are tightened to torques listed in the inverter manual and battery manual   Roof mount layout matches the roof mount drawing   Polarity matches the solar system connection diagram   Turn on the battery first, then solar DC, then inverter AC. Monitor the inverter display for normal operation.
    Read More

Partner With Us

Building a decarbonized and sustainable energy system is a common challenge facing the world. We are a global solar module manufacturing company.
Contact Us Now

leave a message

leave a message
If you are interested in our products and want to know more details,please leave a message here,we will reply you as soon as we can.
submit

home

products

whatsApp

contact